1st, I missed one picture yesterday. I had mixed some glue and sawdust to fill a couple small voids in the plywood frame. I'll have to sand these later before final sealing.

Now, on to the bad day in the shop.
I got out there to find that my rear plate (made of of book matched halves glued together with waterproof glue) had both curved wonderfully, but also split right down the glue line. With the curves from the radius dish there was no way the edges would meet up as-is. I was able to run the two halves through the jointer again which removed the glue and then I did my best to line them up and glue with my new bottle of Titebond (which I wish I'd used up front, but sometimes you need to try something new). Clamping curved and curled shapes is hard! I had to get creative and won't know if I got them good until I unclamp and inspect tomorrow.


After I got that glue up started I got to work on my headstock logo. I decided to use my jigsaw so started with a couple drilled holes, then cut the interior shapes. Note I was using my LED light with magnifier, probably the most use it's had in years. So far, so good.
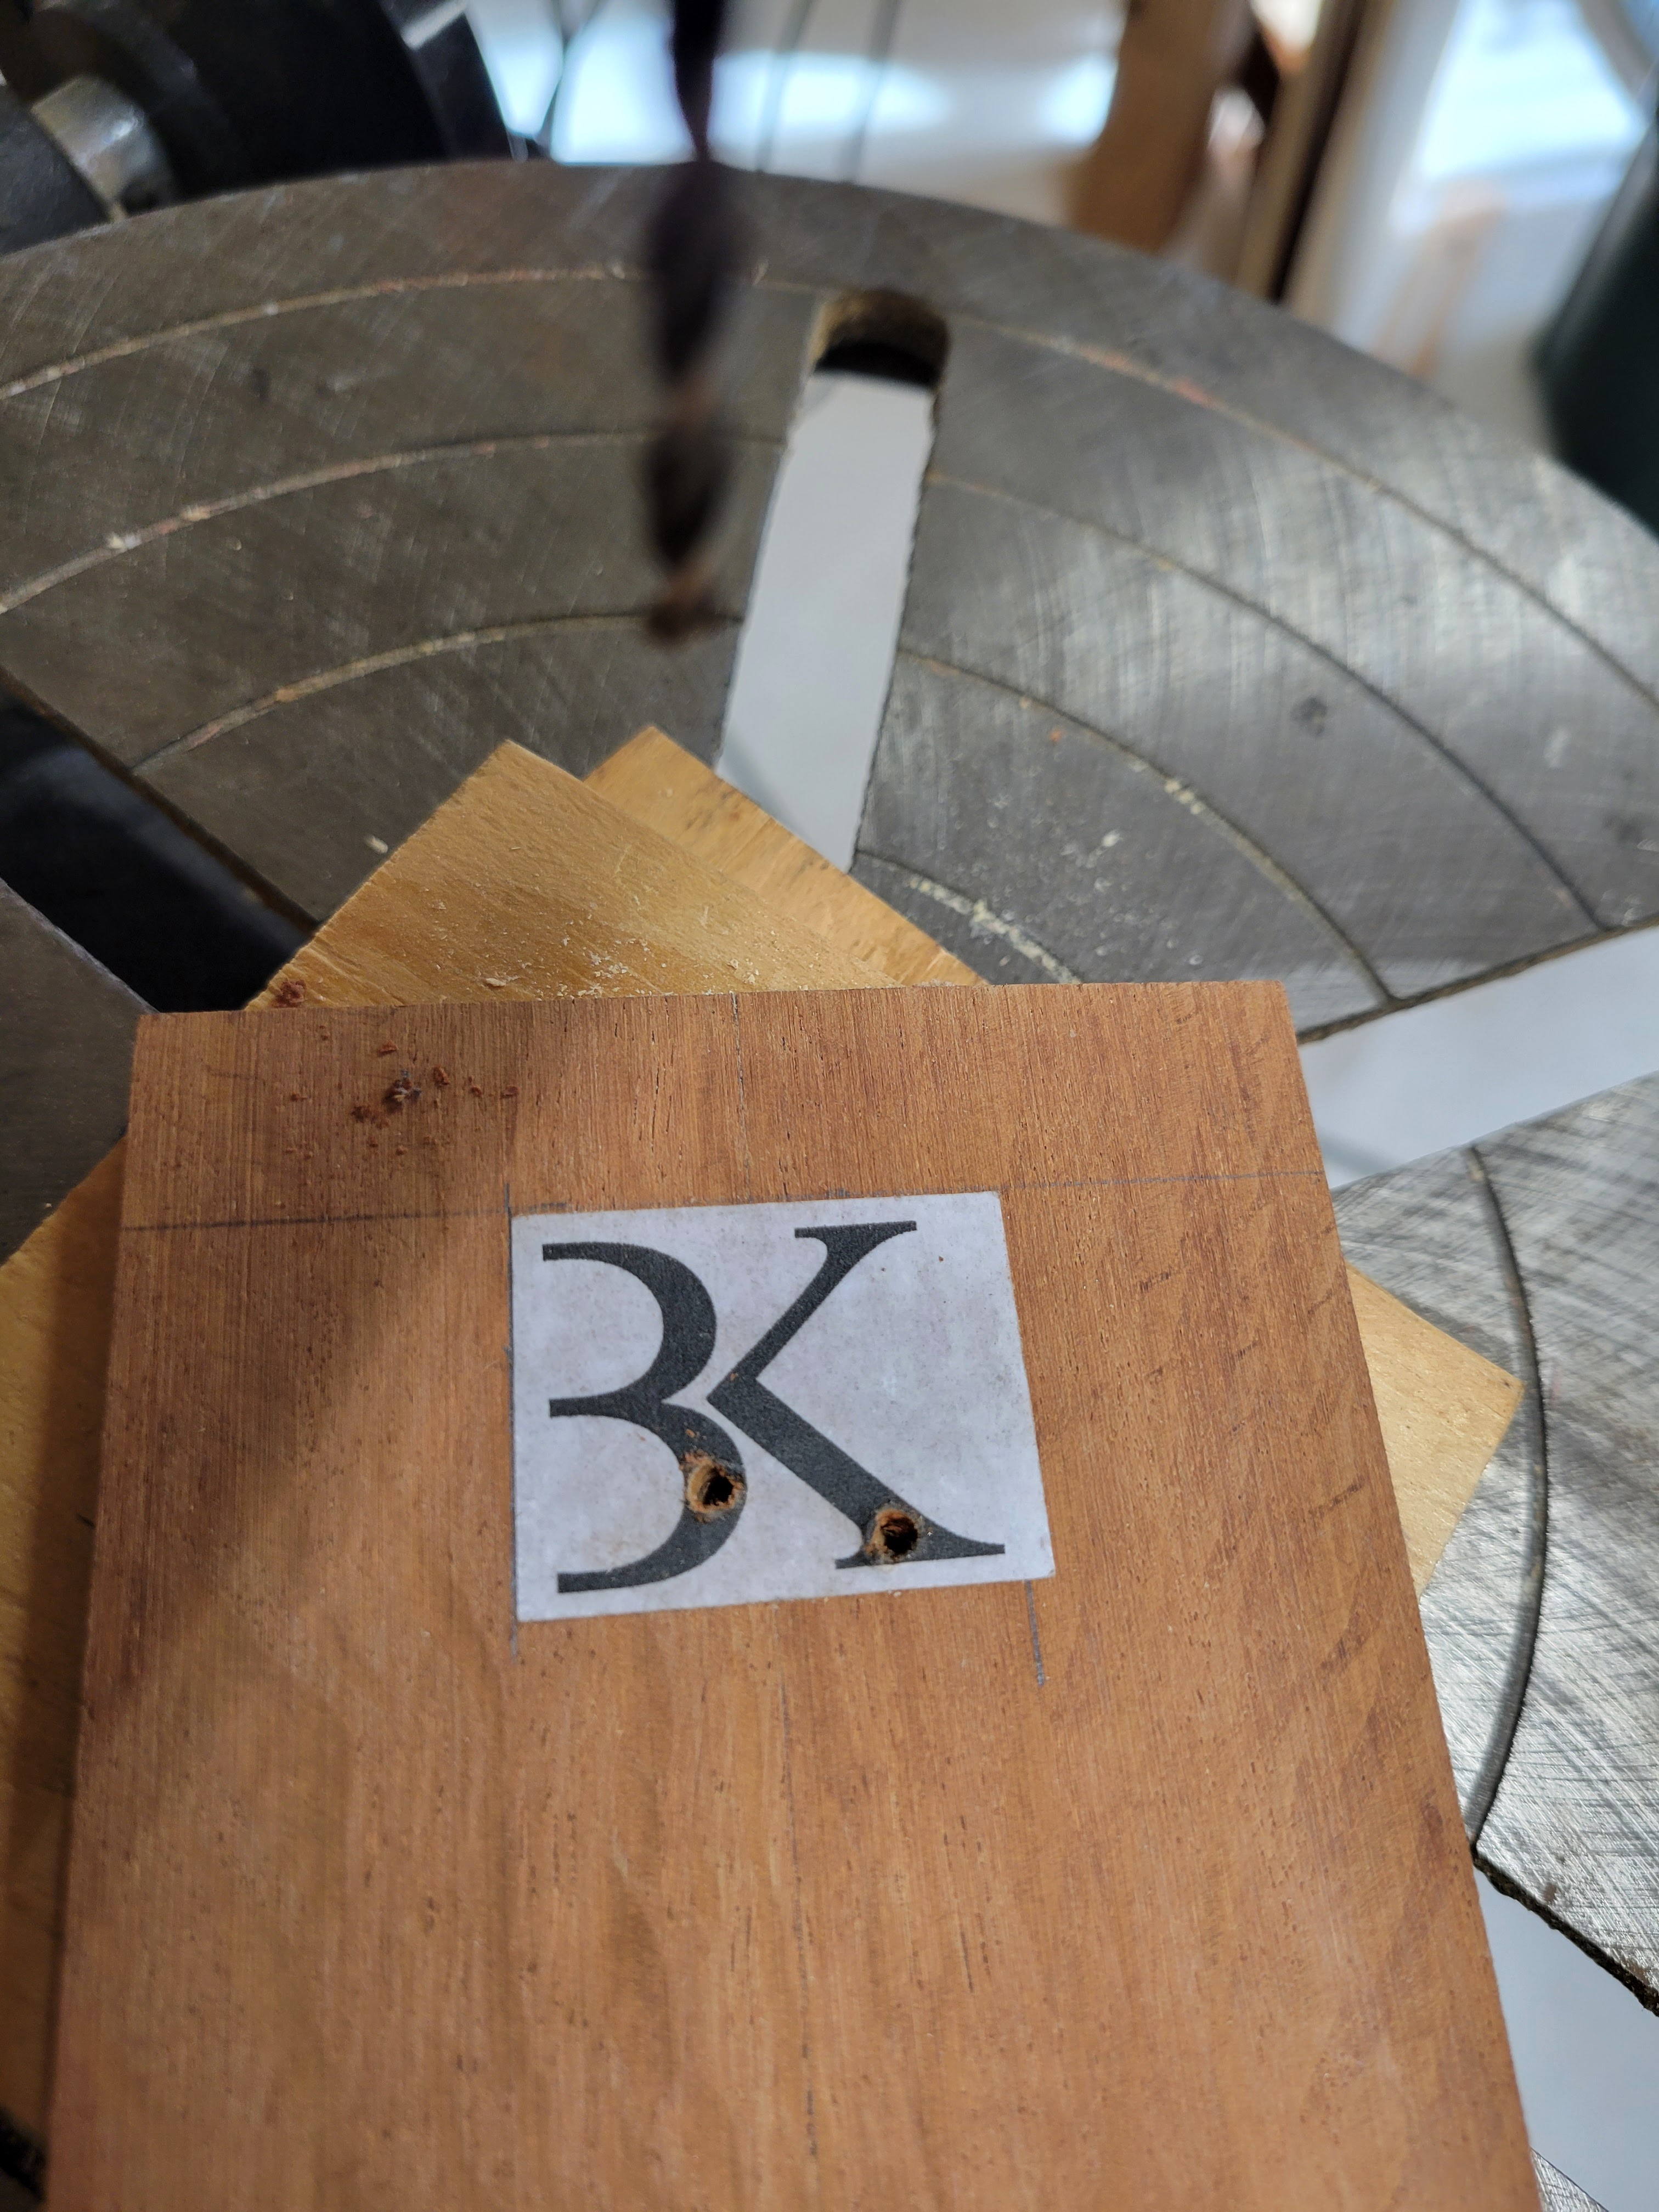


Now the harder part, cutting the little shapes out of ebony. I got part way done and broke off a leg of the B. (Did you notice the logo is the letters BK? Just without the vertical lines. I saw this done on Roger Federer's hat and thought it was cool.)


Now I need to mention that I didn't buy the jigsaw but got it from my dad some years back when he stopped doing woodwork. I was having trouble holding these little pieces down when I realized that the jigsaw has a speed control! My old Craftsman jigsaw never had that feature. So, I cranked the speed ALL the way down. The cutting was slow, but mostly in control now.

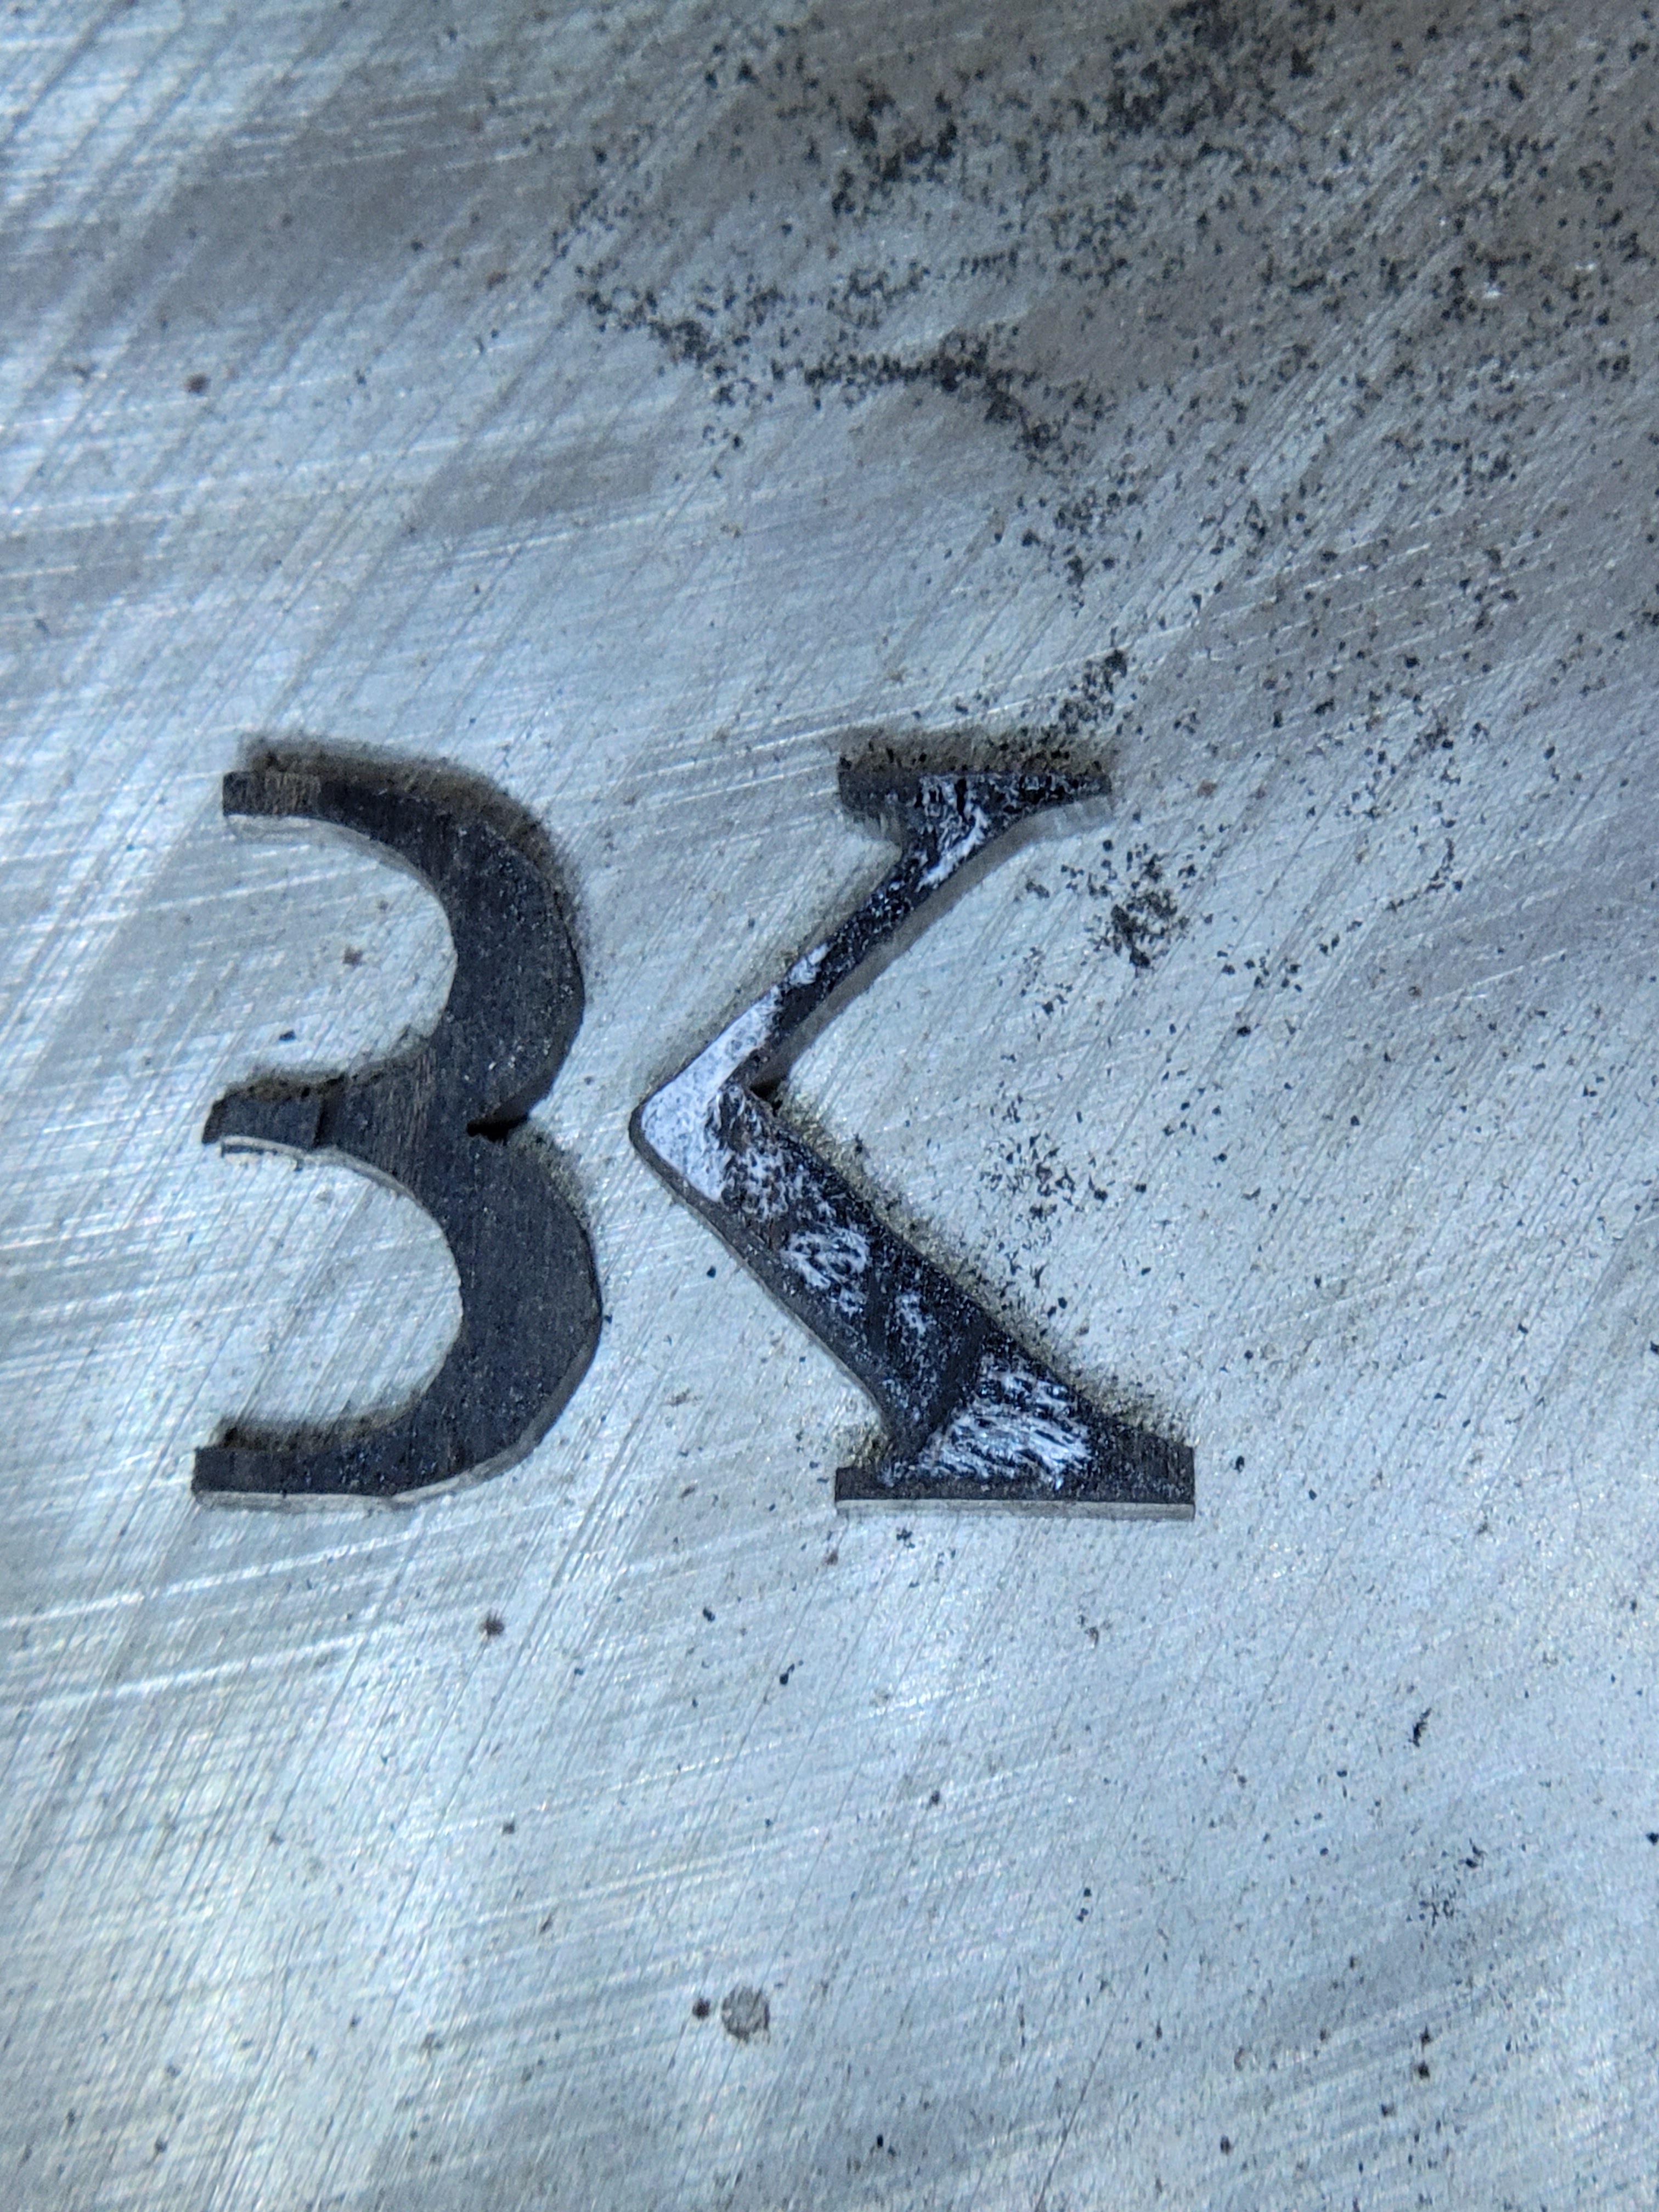
At this point these little pieces were still a little oversize (or the holes a little under size). So I sat with a set of needle files for about an hour getting these to fit. At the point they went part way into the holes there were a few sounds of wood snapping. After some in and out I shoved them into place. You can see light around the inlays but the next step is to both work fine sawdust into those gaps and glue everything in place with super glue. After that it needs to be sanded down a LOT thinner.


No comments:
Post a Comment