Thursday, October 03, 2024

bracing and sanding

 I cut my back braces to fit around the back reinforcement seam and glued them up in the go-bar deck.

The back is sitting in the radius dish to support the curvature and the curved braces are fit into position and held tight by the fiberglass bars.


I worked on a couple other wood work projects while the glue set up and then set about sanding the plywood frame to match the radius dish curves.  This is necessary so the curved back plate and the surface it gets glued to will match and give a good bond.  Yes, leaving everything flat is much easier, but the radiused back "feels" so much better.  It also allows for the top/back plates to flatten rather than split as they shrink in the low humidity of winter.

Note the gap between the ply and the dish in the 1st pic and it's gone after sanding for 10-15 minutes.


Here is the side/neck assembly sitting on the plate.  Just checking the fit now.  I won't glue anything until I've braced and fit the front plate.  I sanded the ply for the front plate to a 25 foot radius (the back is an 8 foot radius), just don't want that much curve on the top.  The top needs to move, vibrate, and be driven by the strings kind of like a speaker cone.  The back needs to reflect the sound from the interior out the sound hole (which I haven't cut yet).


I also trimmed the excess on the headstock plate but alas, no picture today.

Brian

Wednesday, October 02, 2024

recovering from yesterday

 First off, let's get some fine sawdust from cutting the inlay and work it into the tiny voids around the inlay.  Then flood the inlay with super glue and work it into the inlay and sawdust with fingers protected from the glue with a piece of paper.  I also clamped the book matched halves of the headstock overlay together as the seam was showing a little after working the inlay pieces in there yesterday.  I set this aside to dry but got back to sanding it later.  After measuring my tuners and headstock I sanded the inlay plate a bit thinner so it's down to about 1/16" thick.


Later in the afternoon I did some more measuring on the headstock and inlay plate.  I squared it up on the belt/disk sander and shortened it to where I wanted it.  Finally I glued and clamped them together.


So my back plates were a mess.  The glue squeeze out was all over and the joint wasn't as tight as I wanted.  I used a small plane to remove the glue but also managed to put some small dings in the wood.

I ended up spending over an hour with a random orbital sander trying to clean up those dings and the glue.


Unfortunately, the plates aren't as tight together as I'd like.  I glued in a reinforcing strip along the joint on the inside.  This is normal to add and not just because of the joint issues.  I haven't been able to see the outside yet as the glue hasn't dried so I'll assess options tomorrow.  It'll either get some sawdust fill, or be routed for a "zipper" or "stripe" inlay.


Lastly, I did some looking through my wood and found quarter sawn spruce for my braces!  Woohoo!

I sanded a few pieces to match my 8 foot radius dish for bracing the back.  They should get installed tomorrow I think.  The back side of the plywood frame must be sanded in the radius disk first so that the curved back plates match with curved side edges to get a good gluing surface match.  It's the details!


Oh yeah, I also sanded out the sawdust/glue filled voids on the plywood frame.  No pics.

Brian

Tuesday, October 01, 2024

a not-so-good day in the shop

 1st, I missed one picture yesterday.  I had mixed some glue and sawdust to fill a couple small voids in the plywood frame.  I'll have to sand these later before final sealing.


Now, on to the bad day in the shop.

I got out there to find that my rear plate (made of of book matched halves glued together with waterproof glue) had both curved wonderfully, but also split right down the glue line.  With the curves from the radius dish there was no way the edges would meet up as-is.  I was able to run the two halves through the jointer again which removed the glue and then I did my best to line them up and glue with my new bottle of Titebond (which I wish I'd used up front, but sometimes you need to try something new).  Clamping curved and curled shapes is hard!  I had to get creative and won't know if I got them good until I unclamp and inspect tomorrow.


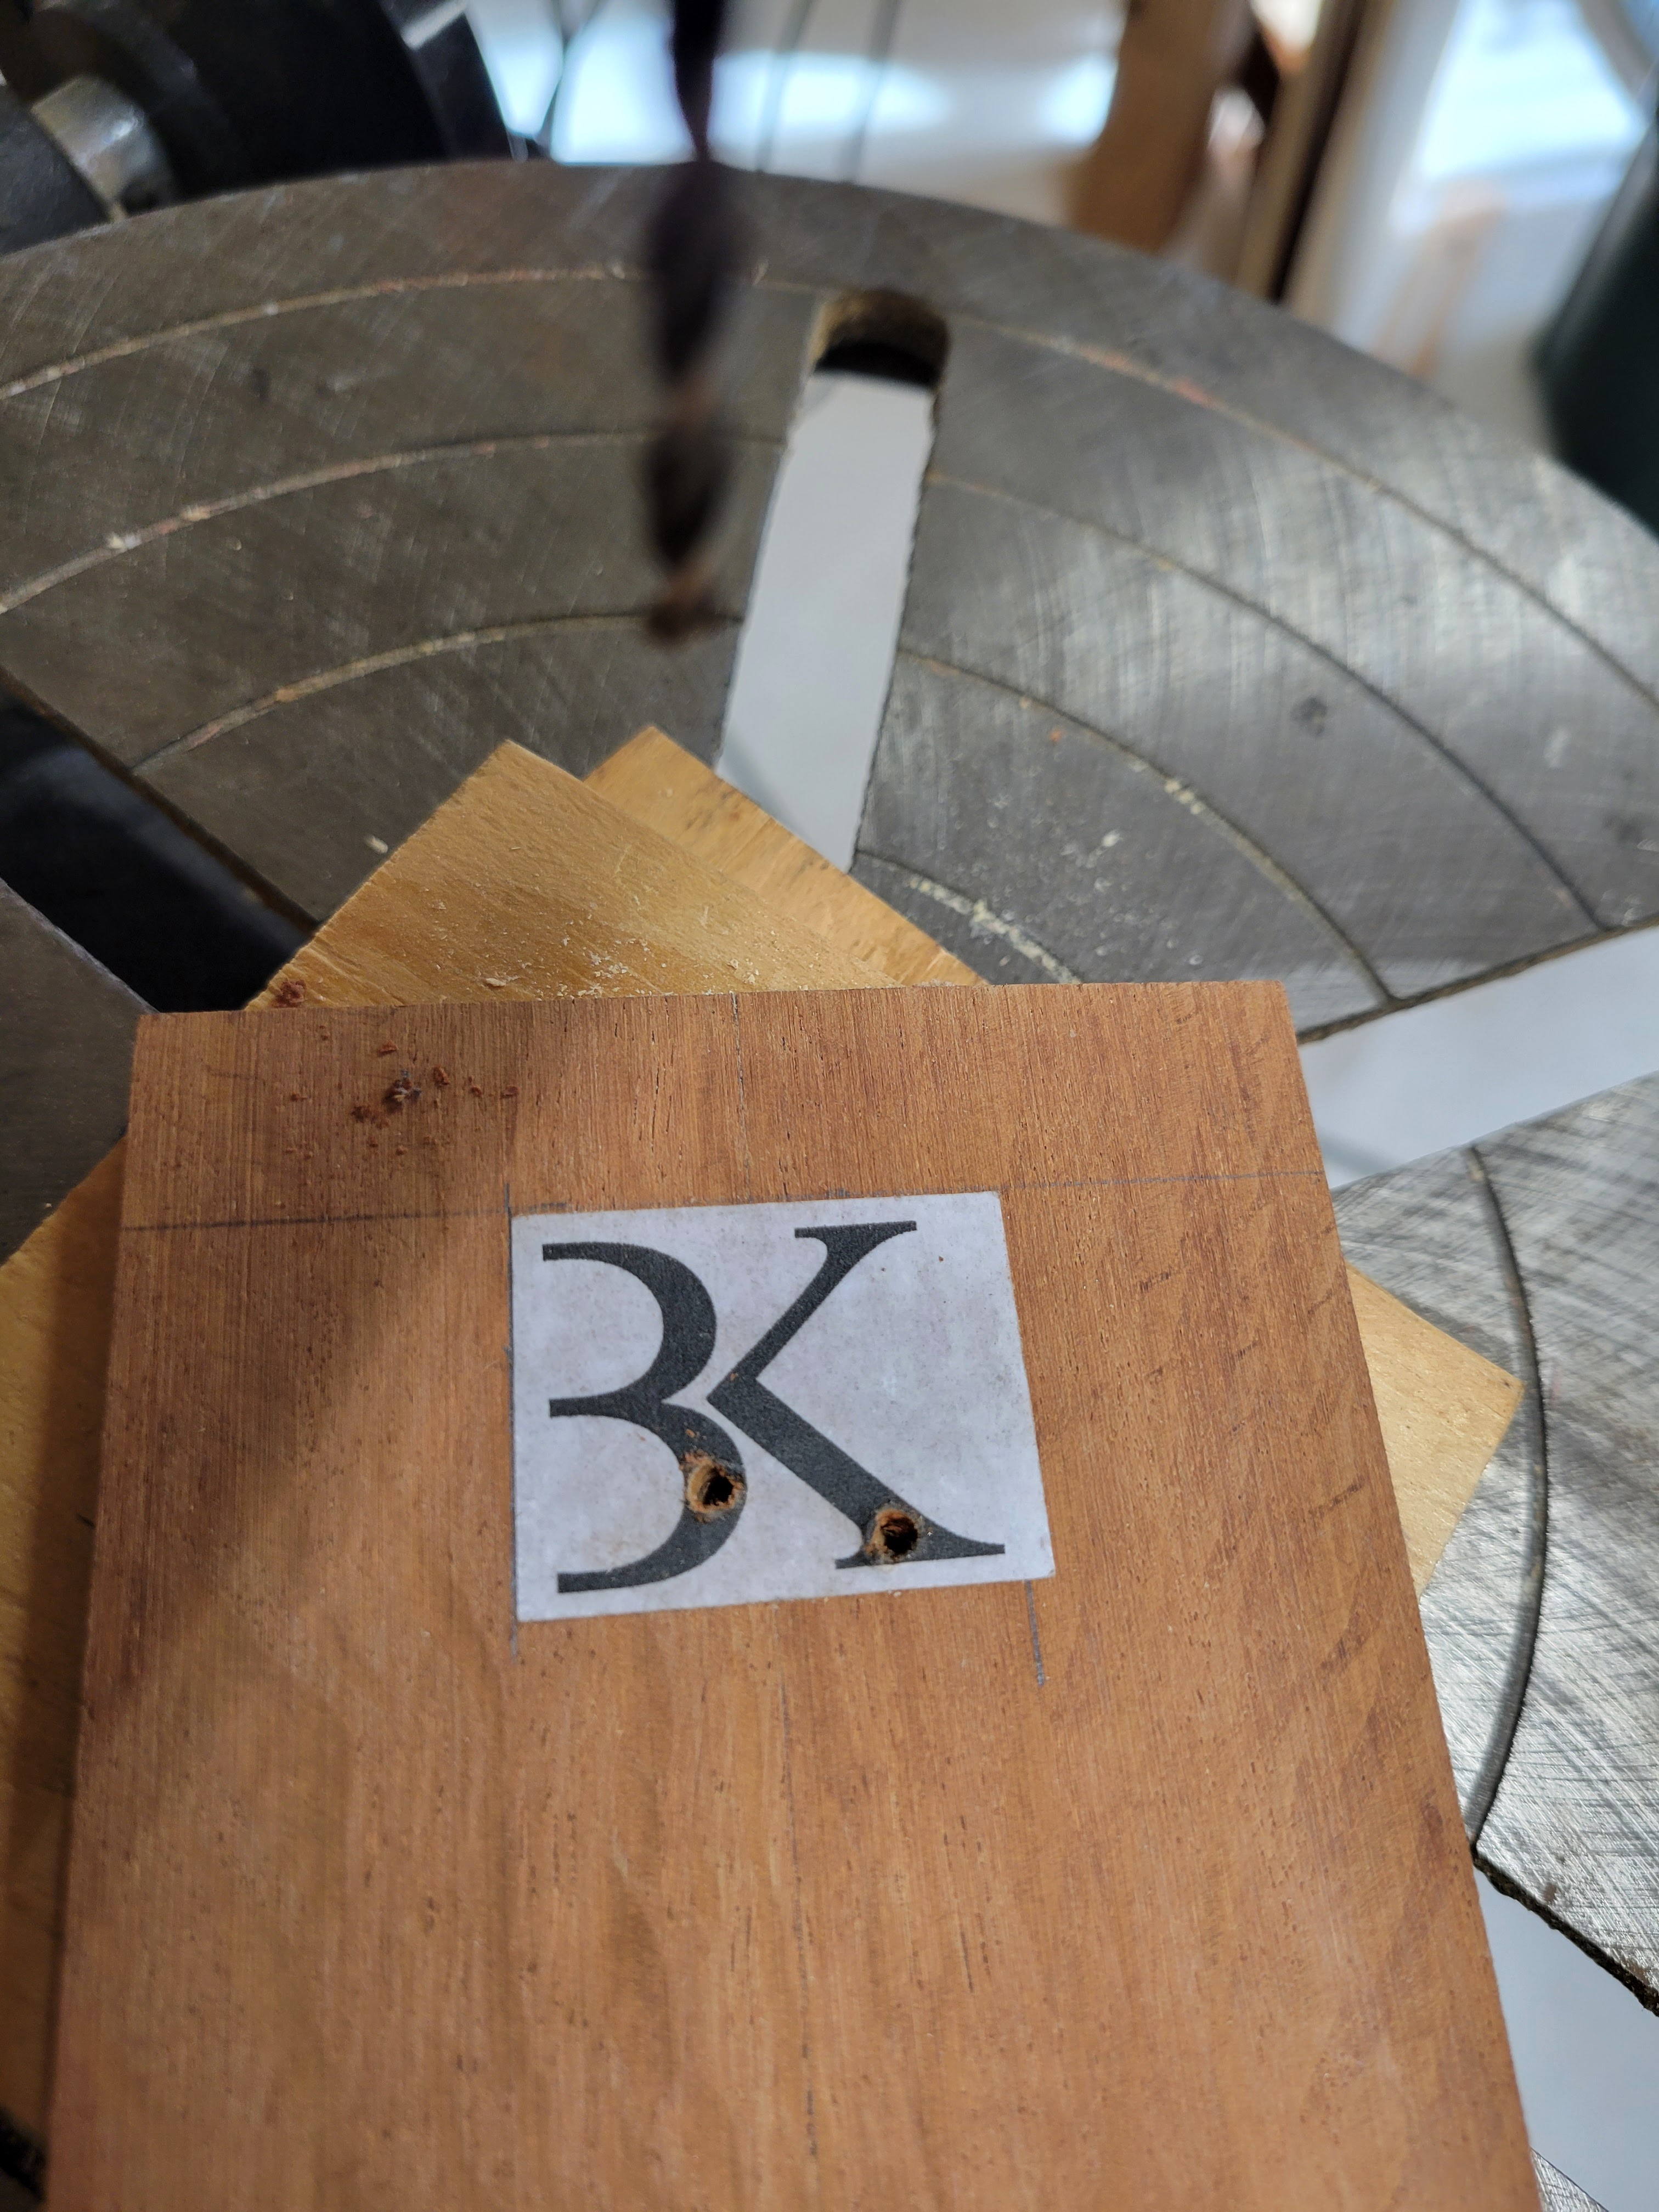
After I got that glue up started I got to work on my headstock logo.  I decided to use my jigsaw so started with a couple drilled holes, then cut the interior shapes.  Note I was using my LED light with magnifier, probably the most use it's had in years.  So far, so good.


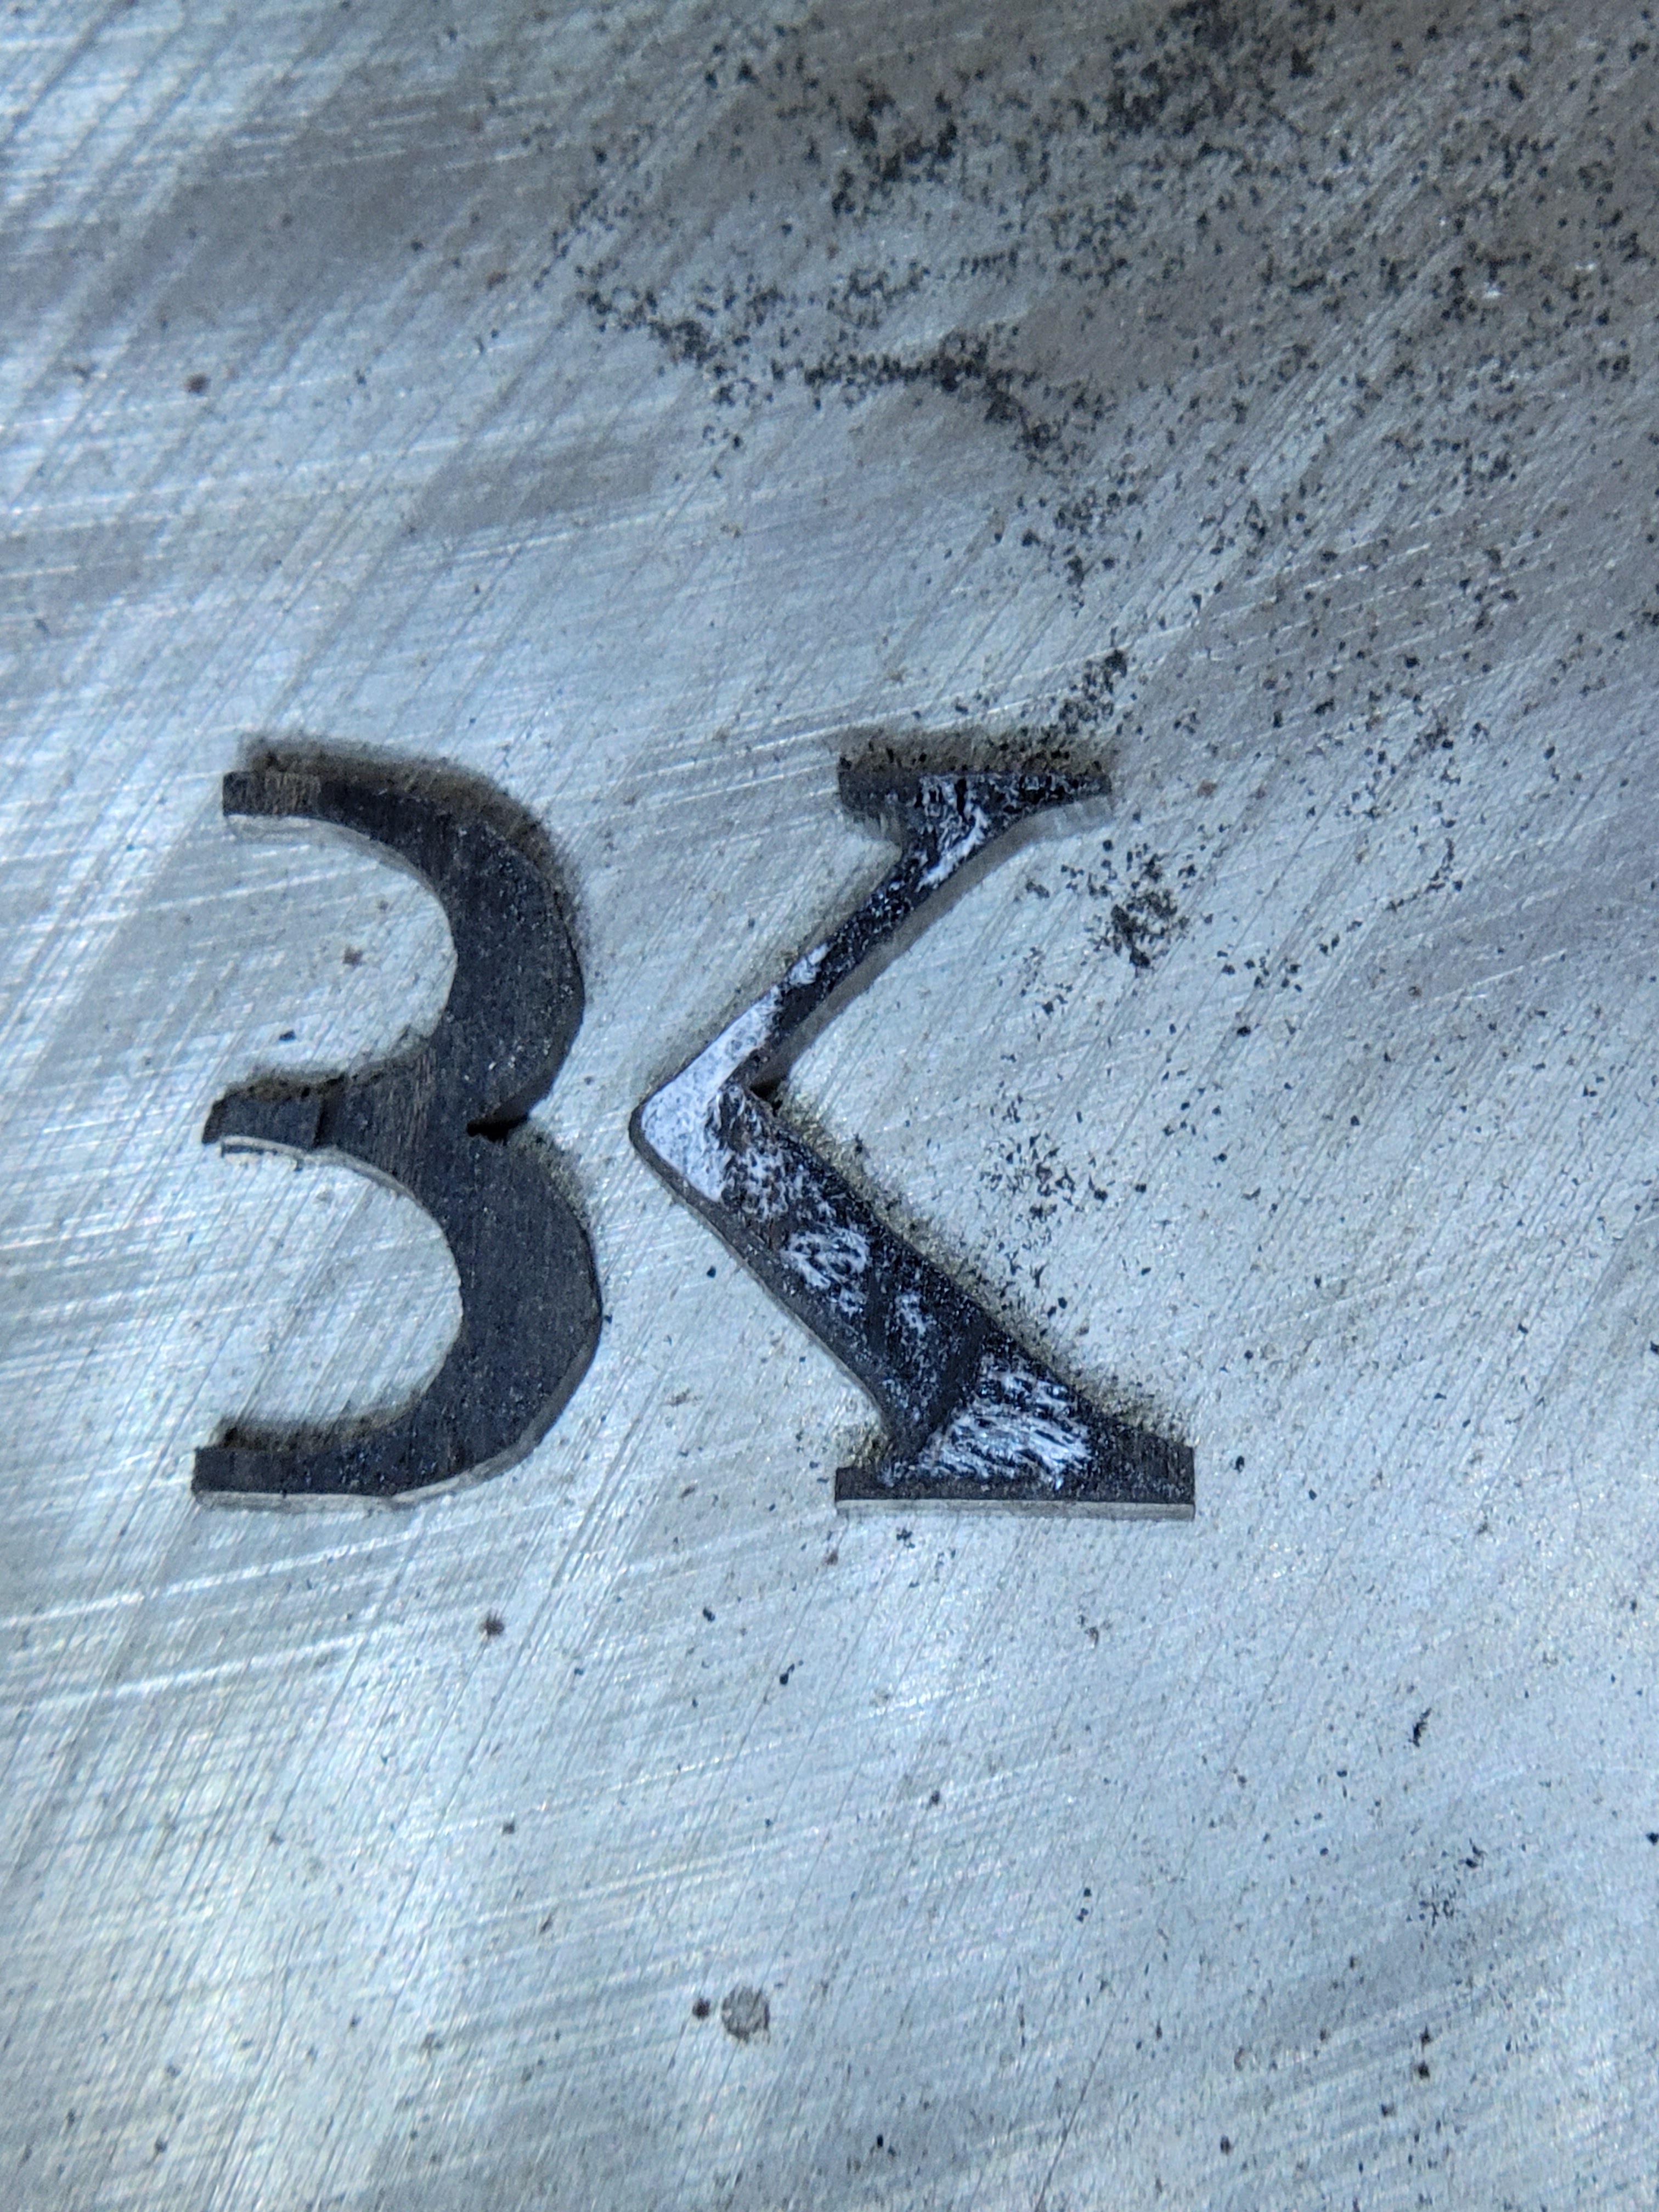
Now the harder part, cutting the little shapes out of ebony.  I got part way done and broke off a leg of the B.  (Did you notice the logo is the letters BK?  Just without the vertical lines.  I saw this done on Roger Federer's hat and thought it was cool.)


Now I need to mention that I didn't buy the jigsaw but got it from my dad some years back when he stopped doing woodwork.  I was having trouble holding these little pieces down when I realized that the jigsaw has a speed control!  My old Craftsman jigsaw never had that feature.  So, I cranked the speed ALL the way down.  The cutting was slow, but mostly in control now.


At this point these little pieces were still a little oversize (or the holes a little under size).  So I sat with a set of needle files for about an hour getting these to fit.  At the point they went part way into the holes there were a few sounds of wood snapping.  After some in and out I shoved them into place.  You can see light around the inlays but the next step is to both work fine sawdust into those gaps and glue everything in place with super glue.  After that it needs to be sanded down a LOT thinner.


As you can see, things didn't go smooth.  In a worst case scenario I might need to pick a new set of wood for the back, hopefully not.  I'm also re-thinking how to do the top top plate.  The top uses the same new glue (which worries me) but it only gets braced to a 25 foot radius rather than an 8 foot radius and won't have the same stresses.

Brian


Monday, September 30, 2024

more plate work

 I un-clamped my remaining plates today and then sent them through the wide drum sander.  They're at about 0.120" per my calipers which is just about right.  There will be additional hand sanding after they get attached to the rim and the goal is about 0.110" when complete.  I wet the Sheoak, it's so beautiful!


I also trimmed up the back plate and put it in my 8ft radius dish, wetted and weighted so hopefully it will take a bit of that shape.  I'll need to make braces to hold it to shape next, just trying to decide if I should order QS (quarter sawn) Sitka Spruce or just go with some of my leftover WRC (Western Red Cedar).  I can't find the spruce locally so it would be a StewMac order.


I also reprinted my logo and glued it to the headstock plate.  I'll need to cut that out somehow, either via router, Dremel, or Xacto knife.  Then I'll need to cut a positive in a contrasting wood to inlay.


That was all for today.
Brian


Sunday, September 29, 2024

top & back plates and headstock plate

 Today I pulled out the glued up bookmatch for the top plate.  Used a chisel and card scraper to remove any surface squeeze out.  Then headed to my wide drum sander (which I built and is documented way down in this blog, about 15 years ago).  I love the figure in this wood (Australian Sheoak)!


I'm also going to use Sheoak for the headstock plate.  I used a couple smaller cutoffs which were also book matched, jointed and set up to glue them.


Next up is the plates for the front.  I grabbed a couple Cedar plates (WRC?  These weren't labeled so I'll have to dig into my purchase records later.)   These are guitar sized, about 9x23, just barely too narrow to use just one.  So I prepped for the book match glue up.  Just look at that tight grain and quarter sawn!


I used an iron block as a weight on the joint this time as the headstock glue up was using my other weight.

I also printed out a version of the headstock logo I used once before to check for size.  I think I'll need to shrink it a little to fit between tuning machines.  Hopefully I'll be able to inlay it with either maple or ebony, not sure if I want the logo white or black this time.


And what's with that fretboard?  Just something I designed years ago but haven't pulled off yet, but I think this is the build to do it!  It will use a thin 1/16" inlay strip between the 4 string courses and should appear more checkerboard with the frets perpendicular to the inlay.

Brian


Friday, September 27, 2024

glue and the headstock takes shape

 First things first.  I cut the carbon fiber rods in half, cleaned up the ends, then epoxied them into the neck.


I used about half of the epoxy and the package said to toss the "mixing applicator" and then cap the syringes.  Well that seemed like a waste and I had the compressor hose a few feet away... so I blew out the applicator.  Then ran a little mineral spirits through it, followed by more air.  Decided to blow air through backwards and the spiral mixing bit inside blew out.  Convenient!  Now I wrapped a half inch wide bit of paper towel around a 1/8" saw blade and was able to run it into the applicator and spin it around getting it squeaky clean and all ready for next use.

Next up was headstock shape.  I'd looked at a few online for inspiration and liked some aspects of this Epiphone shape.


So next I looked around the shop for anything curved to try to trace for the sides.  I found a cookie tin (saving for a cigar box type build), the form for the body on this uke, and the cast iron platform for my jigsaw.  Jigsaw it was!  But, it still took 3 tries for the right side and 2 for the left to trace lines the way I wanted.  I decided on the S shape for the top rather than the "open book" and I just freehanded that.  You may have noticed that it's asymmetrical, that's because as a 5 string it'll have 3 tuners on the left and 2 on the right.  Leaving a little extra space on the right also helps ensure the hand isn't jammed up again the tuner there.

After cutting the headstock shape on the band saw I realized that I was missing about 1/8" on the face side at the top (I'd traced the shape on the back side).  I just freehanded the extra 1/8" on the band saw and then went to the oscillating spindle sander to smooth everything up.  I'm liking it!

And finally, I worked on my 2 book matched plates for the back.  Ran them through the jointer to get perfect edges to glue together (but still hand sanded them just a bit).  I then cut them to width and length and set up my edge gluing jig.  I'm using different glue than I've used before, Apel waterproof polyurethane made for boats and supposed to be heat resistant and waterproof.  After the back gets glued up I intend to curve it in my go-bar deck to an 8 foot radius, which might require heat and moisture.  I'm thinking about using the clothing steamer my wife got a while back while clamping in the go-bar deck.


For now it's clamped up with a milling vise sitting on top to hold it down flat.
Brian